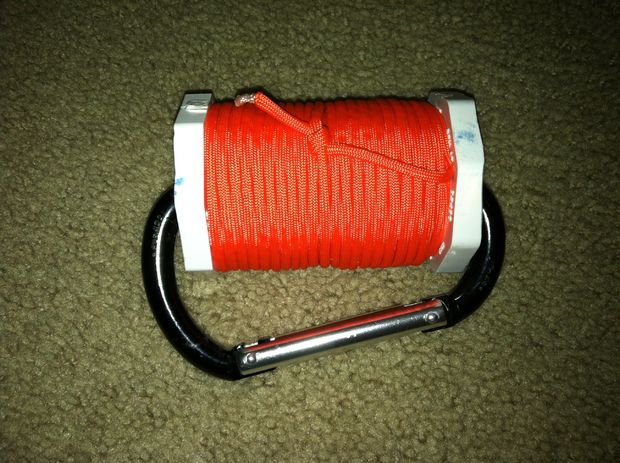
Five Lessons I Learned From Paracord Crafting
When
I first started at Paracord Planet, I had never touched paracord before.
Actually, I had never heard of
paracord before, much less had the opportunity to try to make a bracelet. There
was a definite learning curve from the time of my first (attempted) Fishtail
Weave to where I am now: an adequate paracord crafter with a handful of monkey
fists, dragon’s tongues, and lightning bolts in his arsenal. My successes—and more
importantly, my failures—have helped me compile this list of five lessons
learned from paracord crafting. Enjoy.
Lesson #1: Patience is a
virtue.
This
lesson comes in to play many times during one’s experience with paracord. For
one, you must have the patience to realize that your first designs are going to
take you a while to master. The Cobra Knot Weave was the only design that I mastered
on my first try. Everything else had its difficulties. It’s important to
remember that you are not alone in this regard. Nobody picks up twenty feet of
paracord and crafts a Modified Sanctified Weave on their very first trip to the
paracording room. Rome wasn’t built in a day!
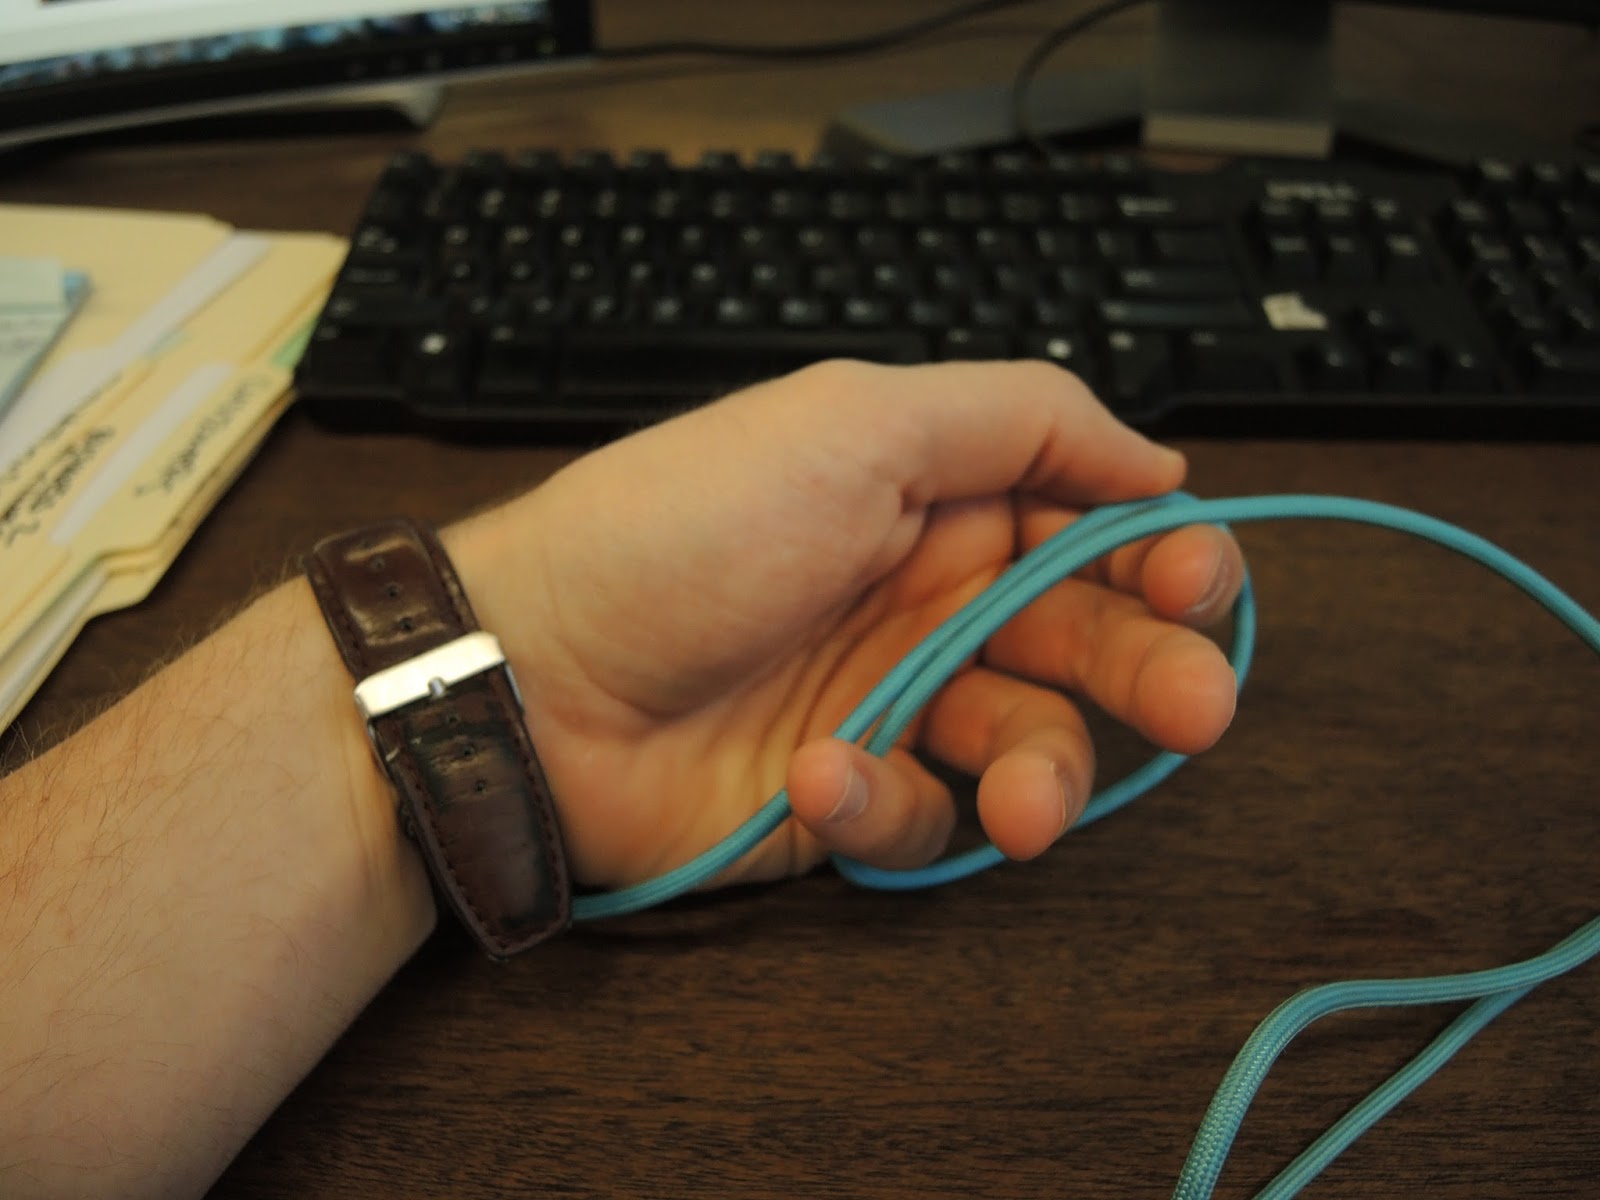
I
found that the best way to tackle a weave was when nobody else was watching.
Follow a YouTube tutorial, or a pictorial, and familiarize yourself with each
step. Then, go through the process slowly and allow yourself enough time to
complete it. Repeat. Repeat. Repeat. Practice truly makes perfect, and good
things take time. Treat learning new weaves in the same way that you would
treat a research paper for school. It is not expected to make sense right away.
If you’re patient, and give the weave the right amount of time to learn, you
will get it. Trust me.
Lesson #2: Readjust as you
go.
Once
you get in the swing of things, it will start moving quickly. It is easy to get
lost in this fast pace and keep going with your weave without looking back at
what you’ve done. I think this is a fitting allegory for life too: if you’re too
focused on what you’re doing right now, and fail to look back at what you’ve
made, the end result won’t be pretty.
Take
the time to pull the base ropes, push your weaving ropes in, and make sure
everything is tight and aesthetically pleasing. You should see my first
Corkscrew. I spent the entirety of my time focusing on the weave that I was
currently on, that I never took any time to readjust. The result was evident.
Keep it tight.
Lesson #3: Add some
(matching) color.
Paracord
crafting is truly an art. The evolution of paracord somewhat mirrors the
evolution of film. We began by only using simple colors, such as black, white,
and olive drab, just like film was only produced in black-and-white. Now,
however, there is an abundance of colors to choose from. What will separate
your bracelets, lanyards, and keychains from other crafters’ projects will be
your color choice.
Make
sure you are choosing the right colors for the job. Not every color goes great
together. For example, our Pink Lemonade cord (pink and yellow), probably
wouldn’t work too well with our Lightning Cord (black and blue). Make sure that
color choices make sense and bear in mind that you are making a piece of art.
Art is supposed to be pleasant to look at. I would suggest Pairing complementary
solid colors together (greens with reds, blues with oranges, purples with
yellows, etc.), or using one solid color with a multi-color that incorporates
said solid color (Royal Blue with Bucky Blue Camo, for example). Be creative,
but make sure it still looks good.
Lesson #4: Mess with fire,
you could get burned.
One
guy in our office wears gloves while crafting. At first, I was weirded out by
it. Now, I question if he’s a genius. If you are using multiple colors on the
same weave, odds are that you are going to have to melt the ends of your
paracord to bring the two separate ropes together. I would also advice melting
the ends of your cord before putting it through your buckle so that you can
pull the cord through more easily. Again, you will use a lighter once your
weave is completed in order to stick the ends to the back of your bracelet.
Basically, you’ll need to use a lighter pretty frequently. And if you mess with
fire, you could get burned.
Keeping
that in mind, I would advise you to be cautious when using your lighter while
crafting with paracord. My fingertips are burned, I’m constantly pulling wax
off of my cuticles, and I’ve yelled “OW!” too loudly in the office on a number
of occasions. Be careful when you are using your lighter. Try to keep the damage
to a minimum.
Lesson #5: Don’t be afraid
to try new things.
My
girlfriend recently told me that I need to try new things. So, I made my first
monkey fist (if you’re reading this, babe, I’m just joking, don’t hate me). On
a more serious note, don’t be afraid to dabble with designs that you haven’t
tried before. As comfortable as the Cobra Knot may be, experiment with
something new. After a while, you may even start coming up with designs of your
own. Paracord crafting is supposed to breed creativity—don’t become too
complacent.
Again,
here I would advise that you use the internet for inspiration. There are all
kinds of places to start looking for new designs—YouTube, Pinterest, Instructables,
etc. If you are looking for something today, connect with us on Facebook,
Twitter, Google+, Pinterest, or Instagram and we can send you a few ideas!
Thanks
for reading, and I hope you found this helpful!
Written by: Jackson Yakowicz