
The Easiest Paracord Bracelet Ever
A tutorial and design for the adjustable paracord bracelet

Before you can swim with the Shark Jawbones, and even before you can tread with the Fishtails, you need to be able to master a simple design. An easy paracord design is a great way for beginners to master a few simple knots, become familiar with the crafting qualities of parachute cord, and build their confidence so they can go on to try out more difficult designs. This is one of the first designs that was introduced to me (special shout-out to Chris Jensen for this one). What I love about this design is not only its ease, but how great it looks and its adjustable quality which allows me to easily take the bracelet off before I step in the shower or go to sleep. The adjustable quality also allows for one-size-fits-all, so if you feel so inspired, you can start a little group called "The Sisterhood/Brotherhood of the Traveling Paracord Bracelet." Alright, I've gotten ahead of myself. Let's just introduce you to the simple design.
Step 1: Collecting your Materials
For this design, you're going to want somewhere between 1-2 ft. of paracord (depending on the size of your wrist, and how much cord you're willing to cut off at the end), a pair of scissors, and a lighter (optional, but recommended for aesthetic reasons once the bracelet is complete).

Step 2: Creating your Structure
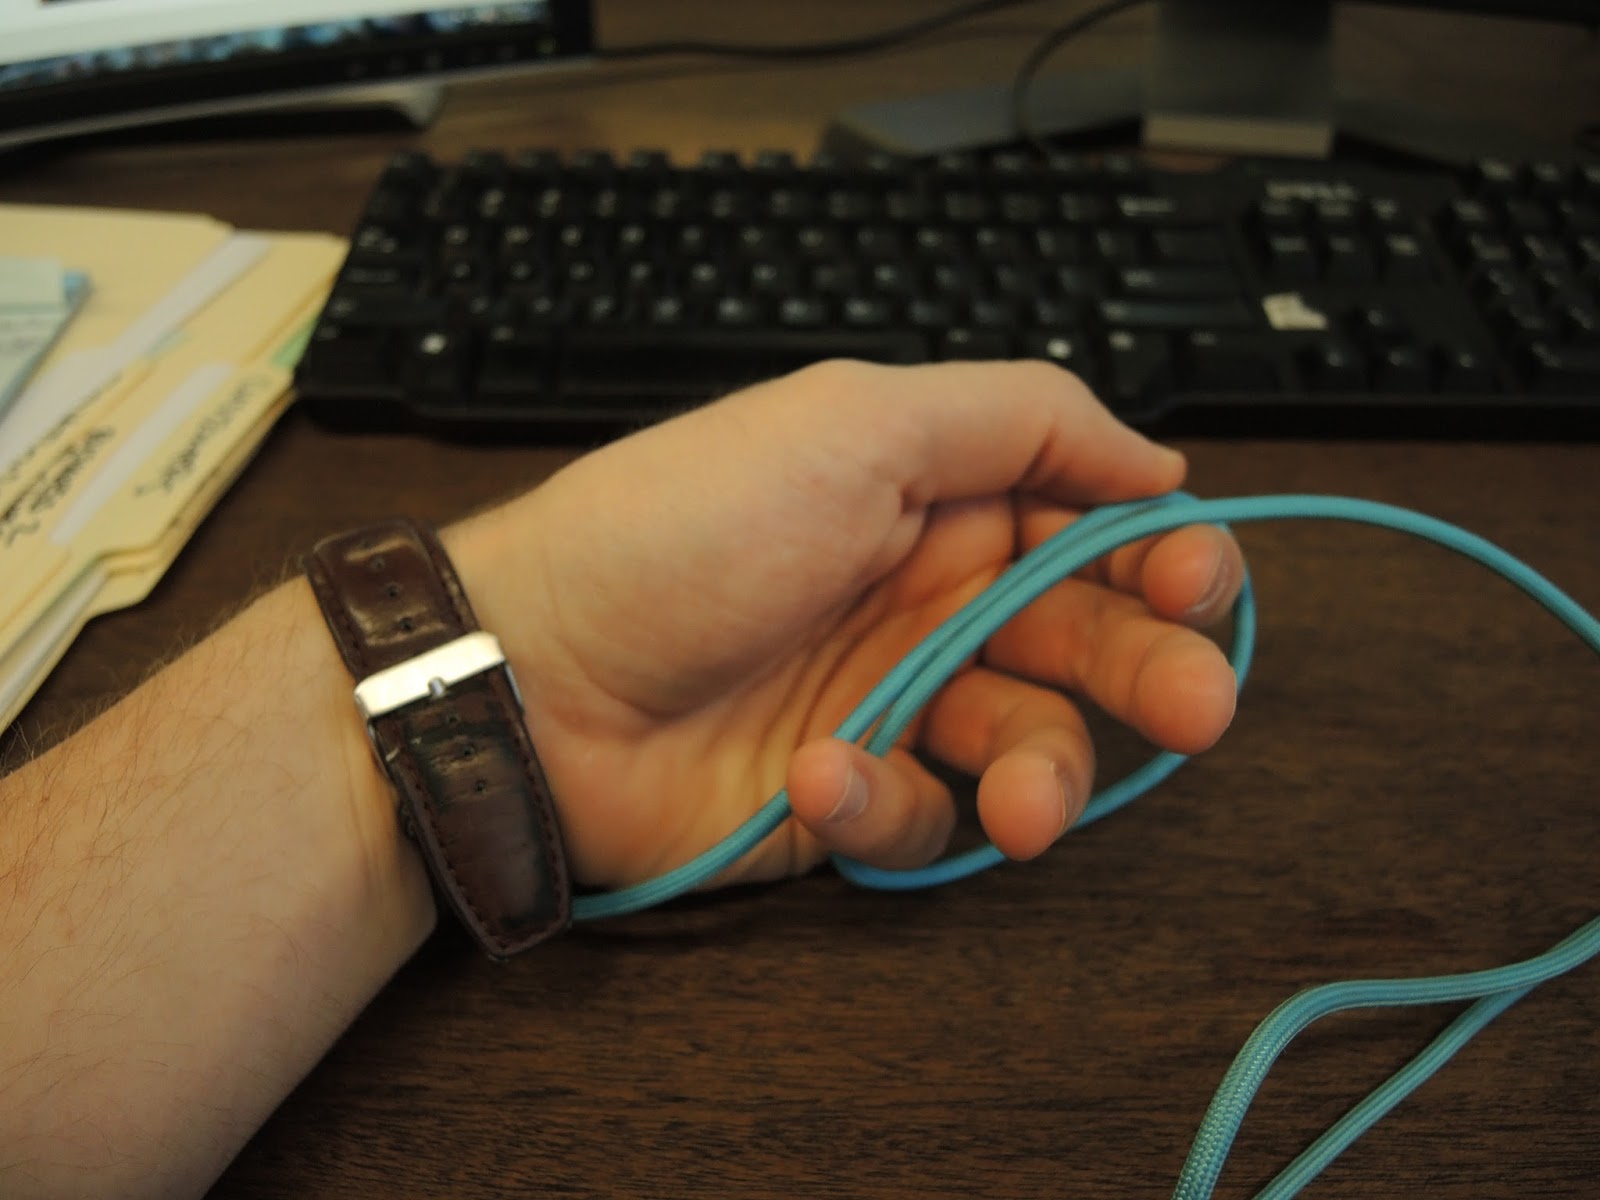
To begin crafting your bracelet, you want to get down your structure. Simply make a loop around your pinky and index finger with the cord as demonstrated below.
Step 3: Making your First Inside Loop
In order to make your first inside loop, you have to take the strand on the right side of your structure and loop it around the back of the bracelet and through the middle hole. Keep this loop in place! You will be running cord through this later. See below.

Step 4: Making your Second Inside Loop
Take the strand of cord that you just pulled through the inside hole and make a loop around the back of the bracelet again. Pull it back through the middle hole, and keep the second loop in place, too. Next, you will be pulling the strand of cord through both these loops.

Step 5: Pull Right Strand Through the Two Loops
Run the right strand of cord (previously pulled through the middle hole in the bracelet) through the two loops at the top of your bracelet. Pull tightly.

Step 6: Flip the Bracelet and Repeat First Loop
I suppose it's not necessary to do so, but I prefer to flip the bracelet so that I'm making the next set of loops on my right side, too. Make your first loop of this set again.

Step 7: Make your Second Loop
By now, you probably know the drill. Take the strand of cord that you ran through the center of the bracelet and make another loop around the backside. Remember, keep enough room in your loops to run a strand of paracord back through.

Step 8: Pull Strand Through the Two Loops
Take the strand that's currently sitting through the center of the bracelet and run it back through the two loops (from left to right) and pull tightly.

Step 9: Cut your Ends
Now comes the time for the finishing touches. Begin by snipping the ends off both sides of the paracord bracelet. Maybe you'll have enough excess cord left to make another bracelet! In the meantime, feel free to cut as close as you want to the knot. Those knots will (k)not come loose ;)

Step 10: Light and Fuse the Ends
If you don't have a lighter, this step is not entirely necessary. Lighting the ends near the knots and fusing them to the knot just makes the bracelet look better. Nobody wants to look at frayed ends, right?

Step 11: Enjoy your Design!
Congrats! You are all done. Adjust the bracelet by pulling on the knots. You can make it bigger by moving the two knots closer together, and make it smaller by moving the two knots away from each other. Put the bracelet on your wrist and enjoy.


I wear these two bracelets every day. I think that you will love this design, as well. Show us your completed project on Facebook, Twitter, Google+, Pinterest, or Instagram.

Written by: Jackson Yakowicz
Contact at jacksony@imsetc.com
This is such a smart survival tool! A paracord bracelet with a knife combines two essentials in one compact design. Perfect for hiking, camping, or emergency kits. Definitely adding this to my gear list.
ReplyDelete